My Environment
The following development environment was used:
-
Xcode: 14
-
Swift: 5.10
Download the Font
If you are looking for a beautiful font, you can download fonts from Google Fonts.
Add the Font to Xcode
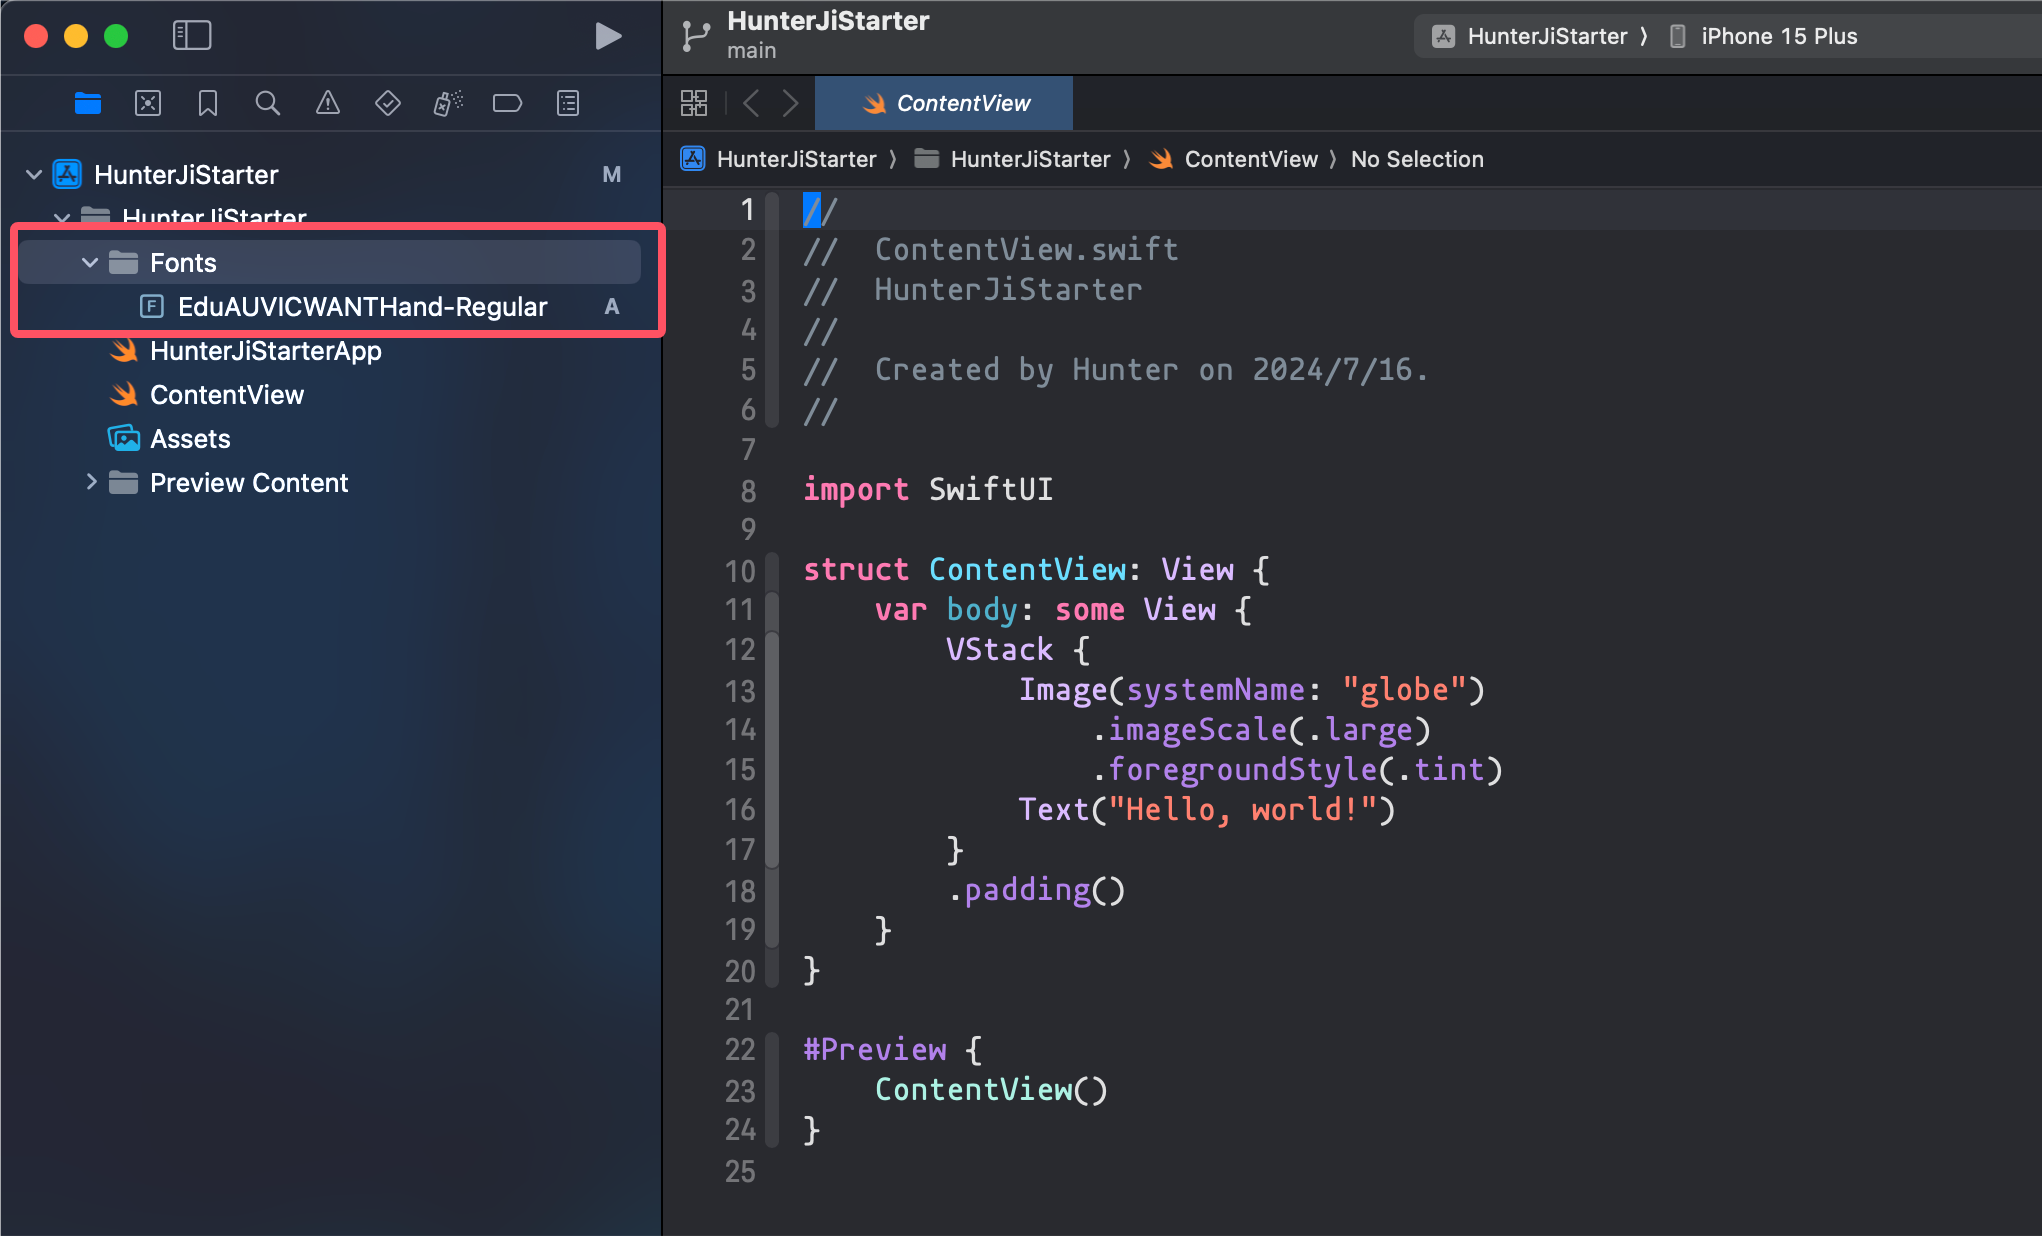
Create a new folder named Fonts in project, and then drag the font file into it. Here, my font file named EduAUVICWANTHand-Regular.ttf.
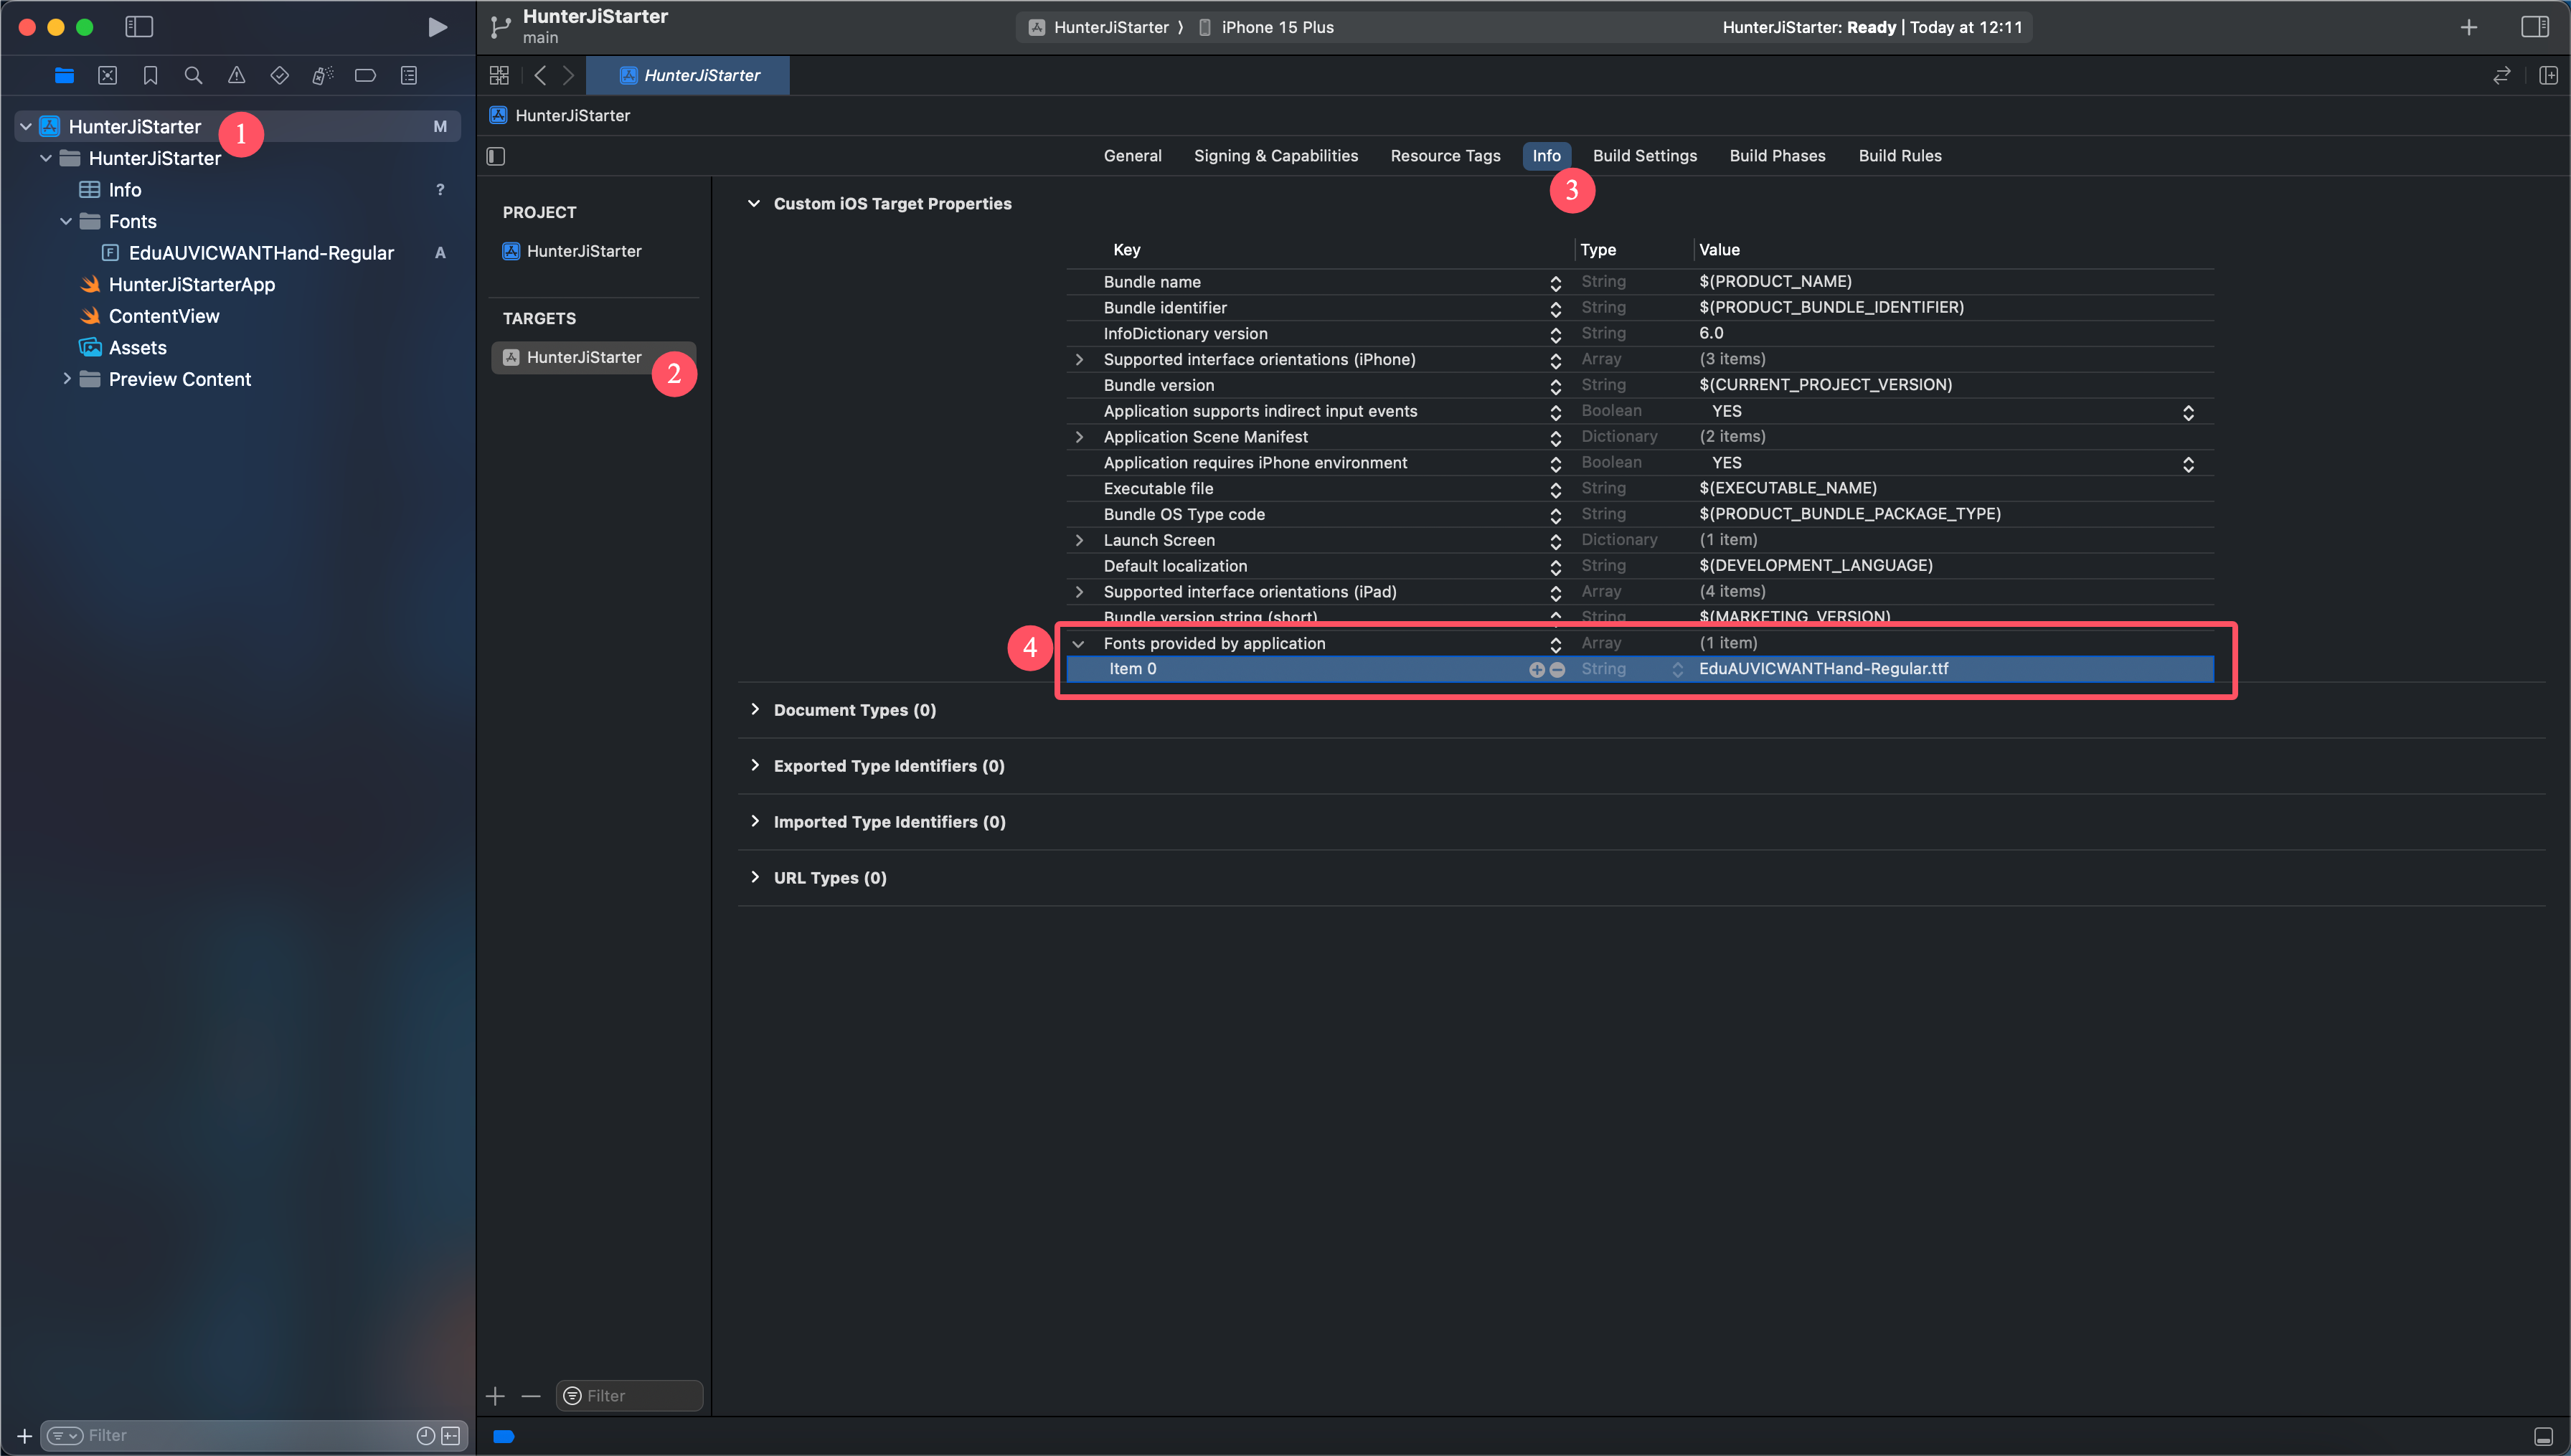
Add the Font to the Info.plist
In the Info.plist, create a new item named Fonts provided by application, then add the font filename to the first item. Note that you need to include the file extension here.
Add the Font to the CustomFont.swift
Of course, you can also skip this step and use strings directly. However, for the convenience of management and use, it is recommended to handle them uniformly here.
Create a new file named Models/CustomFont.swift , then complete it with the following code:
import Foundation

struct CustomFont: Identifiable {
    var id: UUID = UUID()
    var name: String
    var supportedLanguages: [String] = ["en"]

    static let EduAUVICWANTHandRegular = CustomFont(name: "EduAUVICWANTHand-Regular")
}
Use The Font
Now, we can use the new font.
struct ContentView: View {
    var body: some View {
        VStack {
            Image(systemName: "globe")
                .imageScale(.large)
                .foregroundStyle(.tint)
            Text("Hello, world!")
                .font(.custom(CustomFont.EduAUVICWANTHandRegular.name, size: 20)) // Use the new font
        }
        .padding()
    }
}